What is Open Graph
In a nutshell: Open Graph is an internet protocol developed by Meta that allows websites to provide additional information specifically for social
media sharing. This information controls how your webpage is displayed in social media previews, including the title, description, and thumbnail image (can also have playable videos).
When your website is shared on social media, it will make it look like this:

Open Graph with the App router
The old approach
The app router differentiate massively from the pages router. One of the removed feature is the Head component,
something that used to look like this:
import Head from 'next/head'

function IndexPage() {
  return (
    <div>
      <Head>
        <title>My page title</title>
      </Head>
      <p>Hello world!</p>
    </div>
  )
}

export default IndexPage
import Head from 'next/head'

function IndexPage() {
  return (
    <div>
      <Head>
        <title>My page title</title>
      </Head>
      <p>Hello world!</p>
    </div>
  )
}

export default IndexPage
There you would add manually every single metadata, from height and weight of images, to every other property.
The new approach
Now things are way easier! For example, if you want to add Open Graph and Twitter images on your homepage, you don't need to code anything.
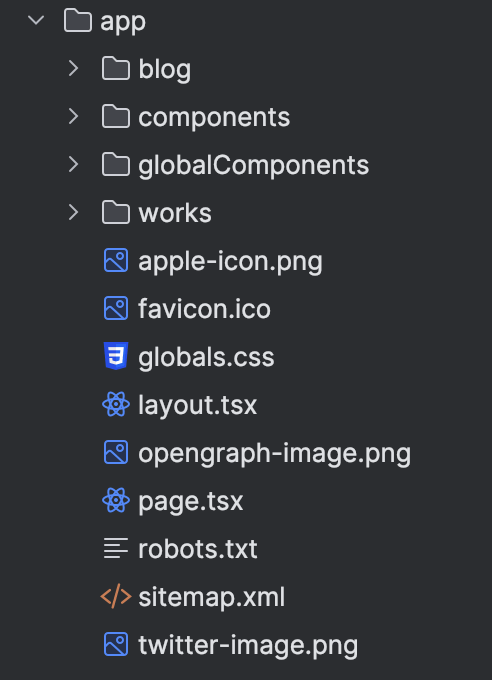
Instead, you just need to put an image (.png, .jpeg or .gif) named opengraph-image and/or twitter-image in the same directory of the page that you want the images to be (in the example I want the images to show in the home page,
so I placed them in the same level as the layout.tsx).
You basically just added Open Graph and Twitter images to your page! But let's also add some metadata to it.
Add more metadata
As said previously, the Head component has been removed, instead we will use the metadata object
from Next.js. You just need to create a const called metadata and export it. Eventually, you can also import the types.
export const metadata: Metadata = {
  title: '...',
}
export const metadata: Metadata = {
  title: '...',
}
Take in mind that this approach is only available for Server Components and for statically generated pages, it won't work if the
page is dynamically generated. In that case you need to call the generateMetadata function, i will explain down below.
Below there is the code that i use for my homepage, look so minimal and clean!
const title: string = "Ivan Smiths, Frontend UI/UX Developer from Wiesbaden";
const description: string =
"Ivan Smiths - Frontend UI/UX Developer - 3 years of experience. Seeking the limit. Currently at TD Cowen";

export const metadata: Metadata = {
    title: title,
    description: description,
    openGraph: {
        title,
        description,
        type: "website",
        siteName: "Ivan Smiths",
        url: `https://ivansmiths.com`,
    },
    twitter: {
        title,
        description,
        card: "summary_large_image",
        creator: "@Ivansmiths",
        creatorId: "1303746727594405894",
    },
};
If you see the page source, you will see that this code rendered out a bunch of html tags:
<title>Ivan Smiths, Frontend UI/UX Developer from Wiesbaden</title>
<meta name="description" content="Ivan Smiths - Frontend UI/UX Developer - 3 years of experience. Seeking the limit. Currently at TD Cowen"/>
<meta property="og:title" content="Ivan Smiths, Frontend UI/UX Developer from Wiesbaden"/>
<meta property="og:description" content="Ivan Smiths - Frontend UI/UX Developer - 3 years of experience. Seeking the limit. Currently at TD Cowen"/>
<meta property="og:url" content="https://ivansmiths.com/"/>
<meta property="og:site_name" content="Ivan Smiths"/>
<meta property="og:image:type" content="image/png"/>
<meta property="og:image:width" content="2880"/>
<meta property="og:image:height" content="1558"/>
<meta property="og:image" content="http://localhost:3000/opengraph-image.png?66d44f37b83759d8"/>
<meta property="og:type" content="website"/>
<meta name="twitter:card" content="summary_large_image"/>
<meta name="twitter:creator" content="@Ivansmiths"/>
<meta name="twitter:creator:id" content="1303746727594405894"/>
<meta name="twitter:title" content="Ivan Smiths, Frontend UI/UX Developer from Wiesbaden"/>
<meta name="twitter:description" content="Ivan Smiths - Frontend UI/UX Developer - 3 years of experience. Seeking the limit. Currently at TD Cowen"/>
<meta name="twitter:image:type" content="image/png"/>
<meta name="twitter:image:width" content="2880"/>
<meta name="twitter:image:height" content="1558"/>
<meta name="twitter:image" content="http://localhost:3000/twitter-image.png?66d44f37b83759d8"/>
That's pretty convenient! As you can see, it also added width and height to both images. If you also want to add an alt text to the images
, you need to add a .txt file called respectively opengraph-image.alt and/or twitter-image.alt with the alternative text written inside.
Add Open Graph and Twitter images to dynamic pages
Often you will end up creating pages trough dynamic routes with a slug or id used as params (e.g. page.tsx file inside a directory named [slug] or [id]).
In these cases, as previously mentioned, we need to use the generateMetadata function. The skeleton of the function looks
something like this:
export async function generateMetadata({ params }) {
    // the logic on how you fetch your data
  let post = getBlogPosts().find((post) => post.slug === params.slug);
})
export async function generateMetadata({ params }) {
    // the logic on how you fetch your data
  let post = getBlogPosts().find((post) => post.slug === params.slug);
})
The generateMetadata accept the params, which you need to fetch inside the function. In this case I am importing the function is use for fetching
the slug for each blogpost I wrote.
This is the code I use for each blogpost page:
type Params = {
  params: {
    slug: string;
  };
};


export async function generateMetadata({
  params,
}: Params): Promise<Metadata | undefined> {
  let post: Posts | undefined = getBlogPosts().find(
    (post) => post.slug === params.slug,
  );
    // if no posts are available return null
  if (!post) {
    return;
  }
    // destructure the properties
  let { title, publishedAt: publishedTime, excerpt, tags } = post.metadata;
    // the actual Open Graph images
  const ogImage = [
    {
      url: `https://ivansmiths.com/blog/${post.slug}/cover.png`,
      height: post.metadata.coverHeight,
      width: post.metadata.coverWidth,
      alt: title,
    },
  ];

  return {
    title,
    description: excerpt,
    openGraph: {
      title,
      description: excerpt,
      type: "article",
      authors: ["Ivan Smiths"],
      tags: tags,
      publishedTime,
      url: `https://ivansmiths.com/blog/${post.slug}`,
      images: ogImage,
    },
    twitter: {
      card: "summary_large_image",
      title,
      creator: "@Ivansmiths",
      creatorId: "1303746727594405894",
      description: excerpt,
      images: ogImage,
    },
  };
}
As you can see, in this case I just create a const called ogImages, where I fetch the images and its height, width and alt text
and used that constant as a value on each images key in the openGraph and twitter objects.
Testing and validation with Vercel
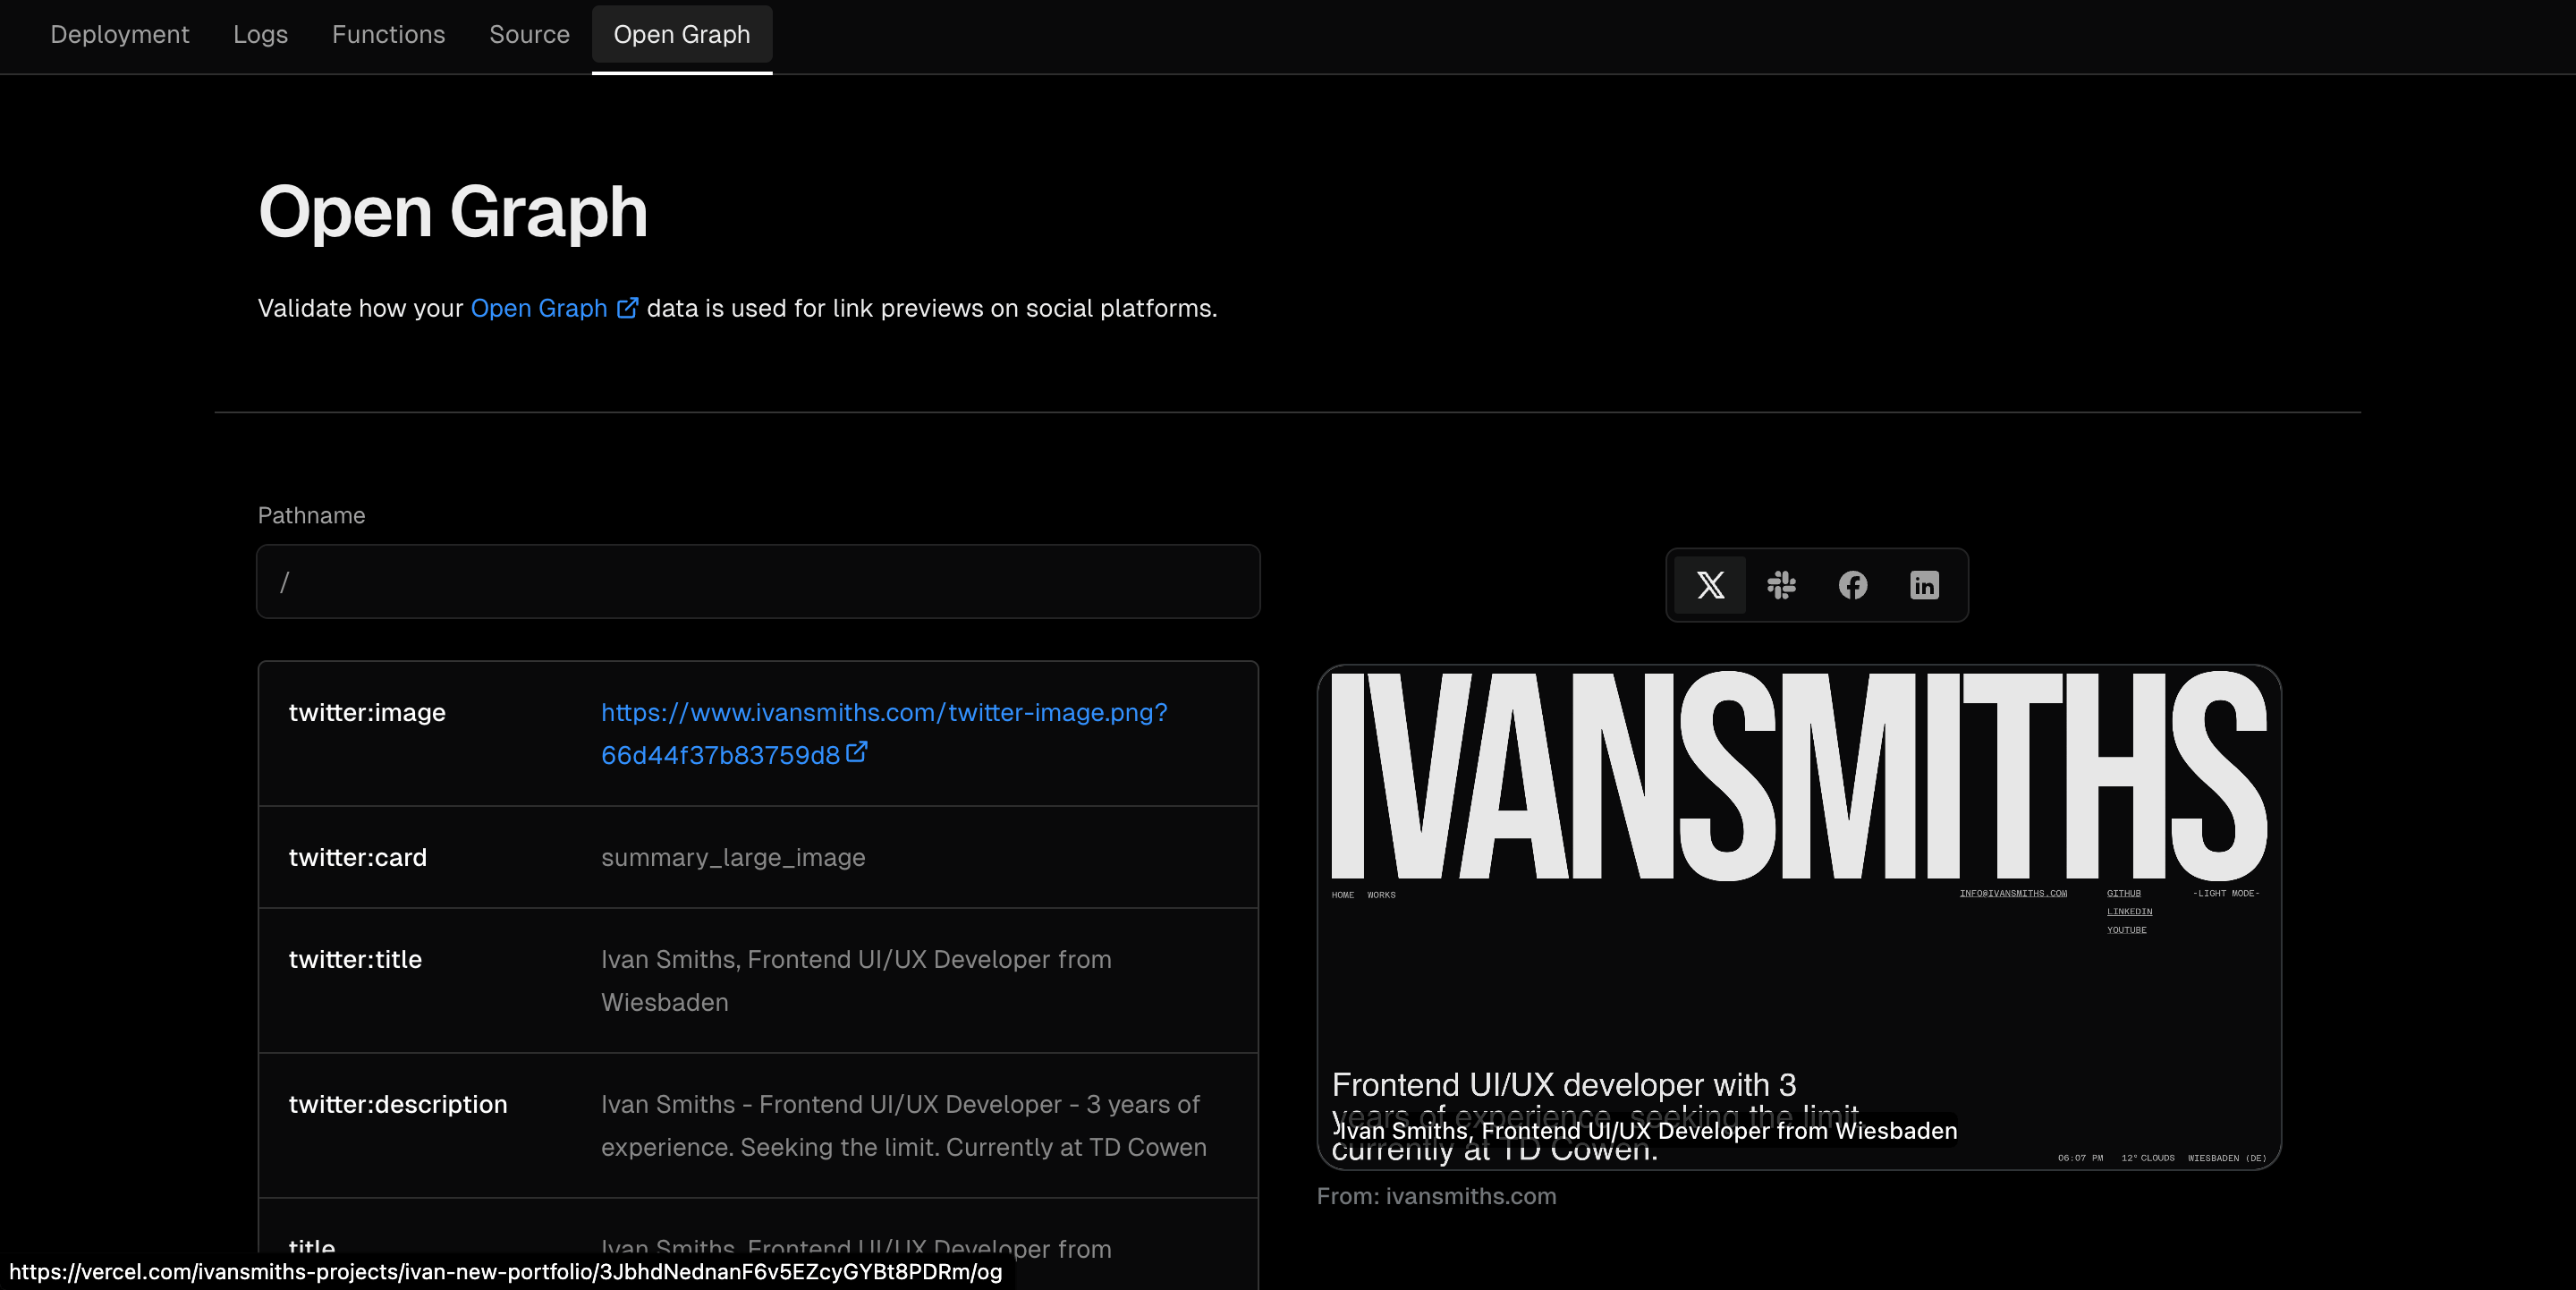
If you are hosting your website in Vercel, you can actually test and validate the metadata on each deployment.
For doing this, select your 'project' in the 'dashboard', go to 'Deployments' and select the deployment that you want to test. Once
selected, you will see in the navbar on the top, the Open Graph link.
With this, you ensure that your website will look nice and clan when shared on social media.